Stop drafts cold at electrical boxes with these easy foam outlet insulation tips.
Our editors and experts handpick every product we feature. We may earn a commission from your purchases.Learn more.


Stop drafts cold at electrical boxes with these easy foam outlet insulation tips.
Our editors and experts handpick every product we feature. We may earn a commission from your purchases.Learn more.
A few hours
Intermediate
$20-50
The small air gaps around electrical boxes on exterior walls and ceilings leak more air than you might imagine. A mere 1/8-in. gap around just six ceiling boxes is the equivalent of cutting a four-inch hole in your ceiling. Think of the amount of heat you'd lose if you did that!
When you consider all the leaks around all the electrical boxes in outside walls in your house, it's no wonder your house feels drafty, but you can fix this with some outlet insulation. Ceiling light fixtures add to the problem, because they let air pass into the attic. You can insulate those too. You'll save on your heating costs as well as staying more comfortable on those frigid winter days. We're here to show you how.
Many homeowners install plain foam gaskets between electrical cover plates and the switches/receptacles. However, those gaskets don’t always seal well. Infrared thermograph images of those outlets will show cold air still entering the house (which means warm air escaping).
We’ll show you more effective methods that permanently seal those leaks. Sealing is easy to do and you can complete the entire house in about four hours. The materials cost less than $25, one of the best investments you’ll ever make! All you need is a caulk gun, caulk and aerosol foam.
While we’re at it, here are 10 ways to insulate your home without opening up walls.
Gaps around ceiling boxes must be sealed with an intumescent fire-blocking caulk or foam. Ordinary spray foam burns too quickly, opening the gap and creating a chimney effect that feeds the fire. Intumescent caulk or foam, on the other hand, swells when heated so it prevents that airflow. You can use regular caulk or foam on wall-mounted boxes.
If the electrical boxes aren’t mounted flush with the drywall, a box extender will make them easier to seal. You can find one for a rectangular, round or multiple-gang box at most home centers.
Plus, here’s how to install cove lighting.


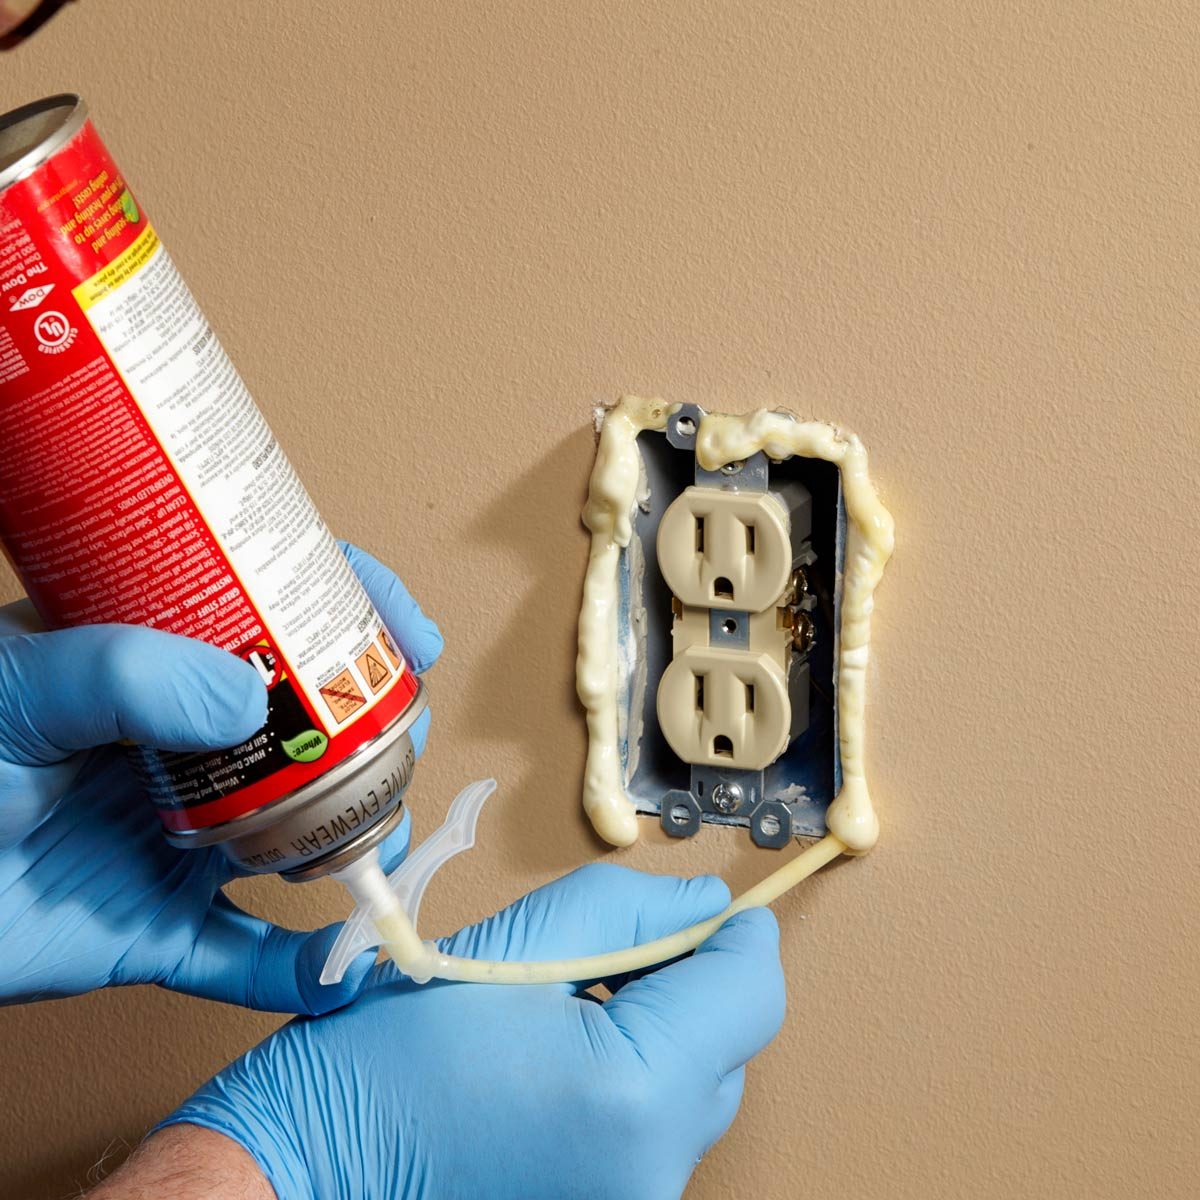
Another simple procedure for better outlet insulation is to apply foam or caulk into the gap around the flush-mounted box, behind electrical cover plates. After the foam hardens, you can slice off the excess with a serrated knife. You can also seal the holes through which wires come into the box (intrusions). Here’s how:

If your caulking/foaming job got out of hand and extends beyond the wall outlet covers, you don’t have to repaint the wall to cover your tracks. Just buy a “jumbo” cover plate.


For better outlet insulation around box extenders, squirt caulk between the box extender and the wall. Smooth the caulk bead with a wet finger, then seal the gap around the box extender.

If you have older recessed lights in a ceiling under an attic space, you’re likely losing a lot of heat through the holes in the housing and around the base of the fixture. However, caulking those openings or covering the fixture with an airtight box can create a fire hazard.
The easiest and best solution is to buy an airtight LED retrofit light/baffle kit. Just remove the bulb, screw in the threaded adapter and snap the LED unit in place. No more air leakage.
Up next, here’s what you need to know about smart light switches.
