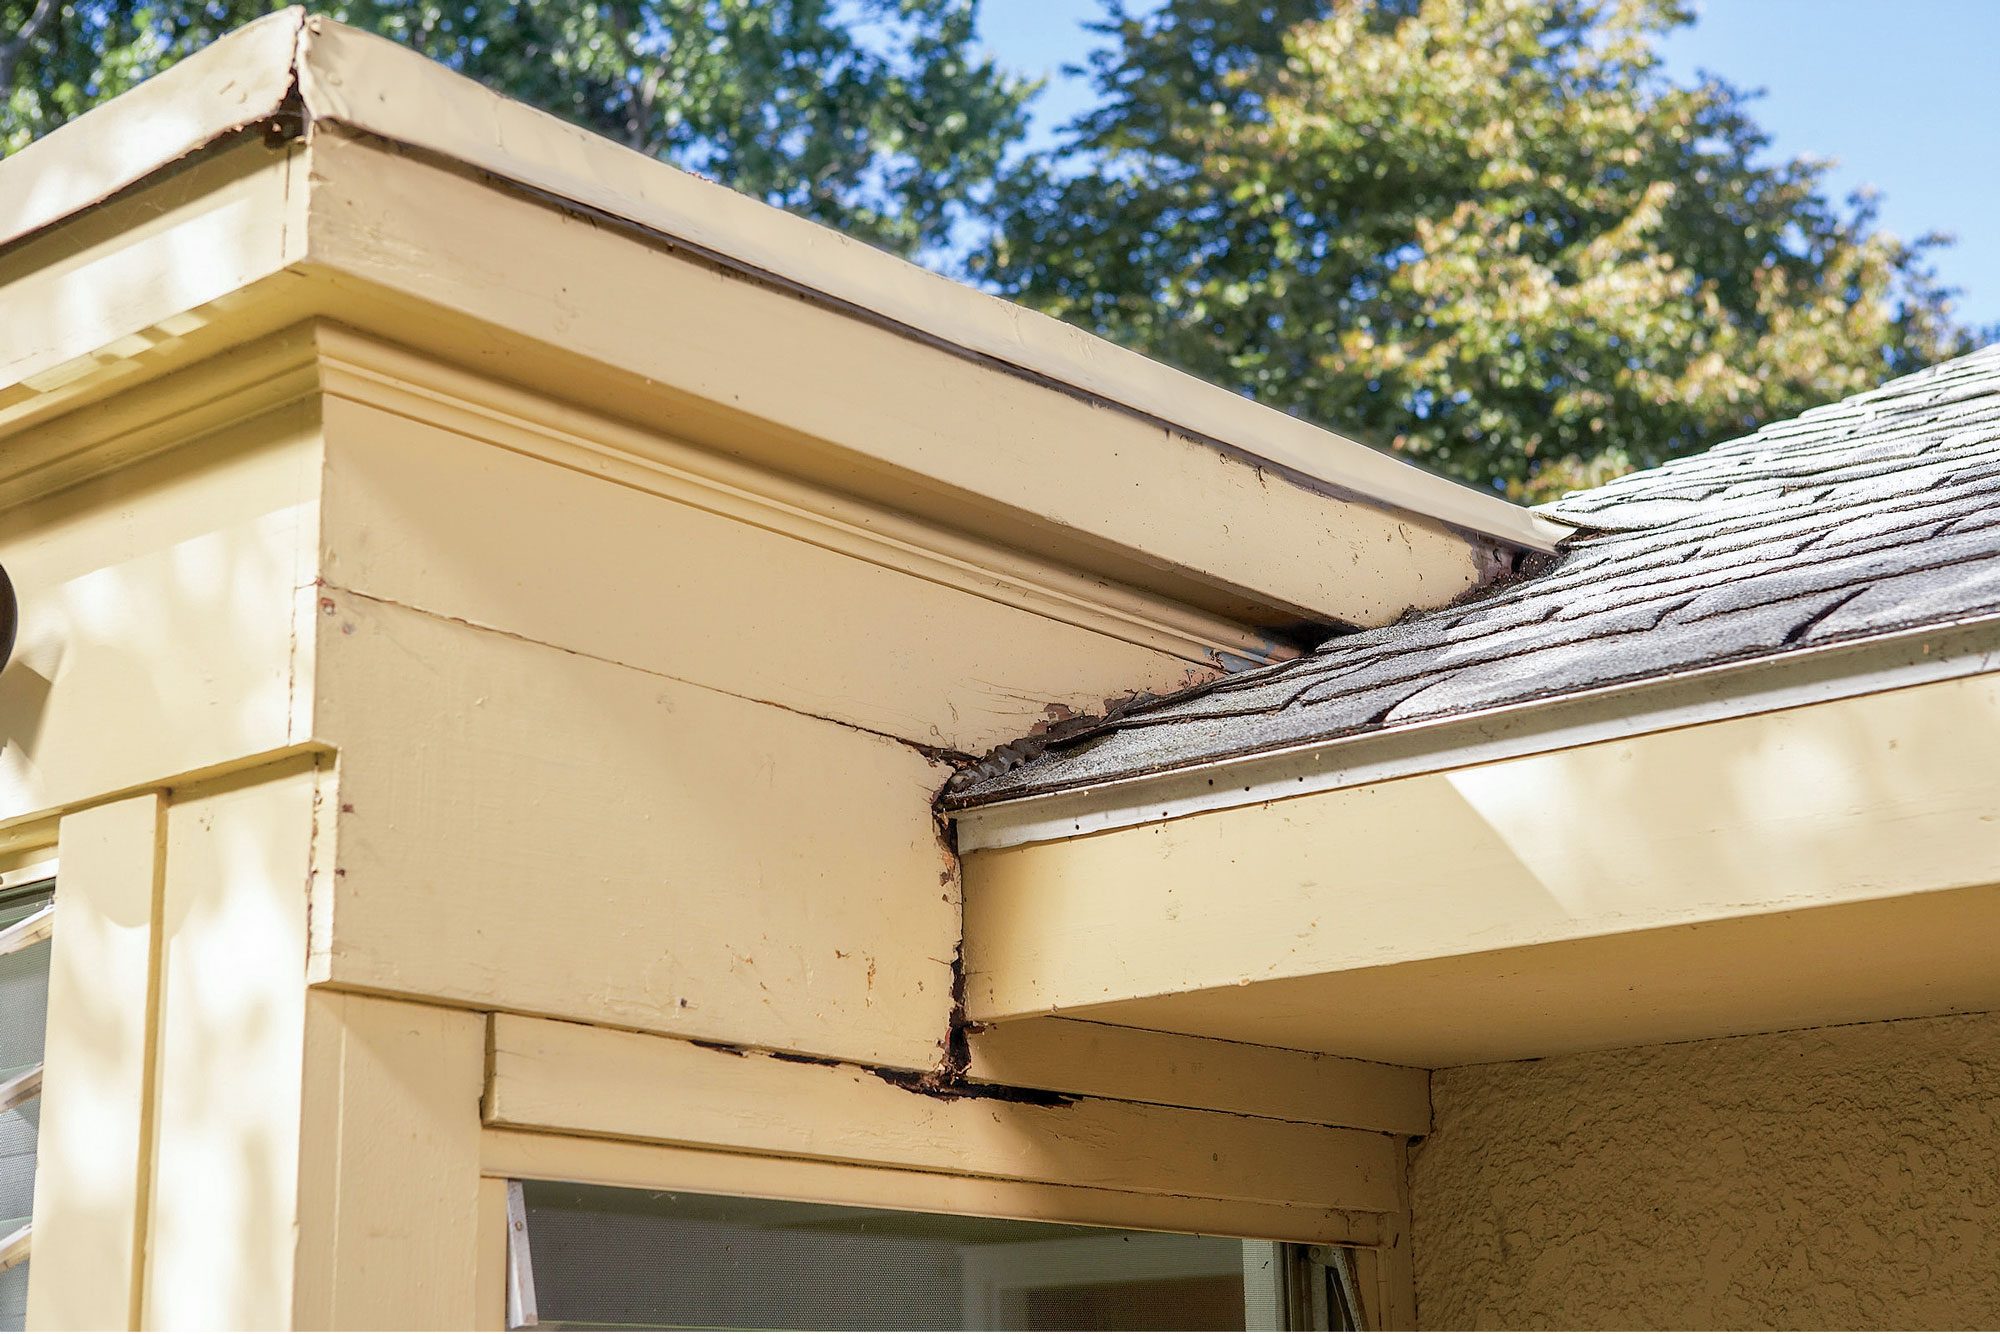
Install this special flashing to stop or prevent rot.
Introduction
Sidewalls, where a roof abuts a wall, are potential leak spots and rot spots. Good metal flashing prevents these problems, including a specially shaped kick-flashing.
Tools Required
- Caulk gun
- Drill/driver - cordless
- Hammer
- Pry bar
- Tin snips
Materials Required
- Cap flashing
- Exterior caulk
- Kick-out flashing
Project step-by-step (2)
Common rot spot
The intersection between a roof and a sidewall can be a rot problem waiting to happen. Even if the roof has been properly flashed against the sidewall (this one hasn’t), water can still run down the side of the house and behind the siding, causing rot.
The solution to rotting sidewalls is a small piece of bent metal called a kickout flashing (at roofing suppliers), which simply directs all that water away from the wall. Kickout flashing installs just like standard step flashing, except that half of the kickout flashing hangs over the edge of the roof.

Slip in the flashing
Inspect the sidewall around and underneath the fascia and inside the house for signs of moisture damage, and repair any rotted areas. Add felt, if needed, before nailing the new wood on, and prime the new wood on all four sides before installing it.
Lift the bottom shingle and slip in the kickout flashing. Nail it to the sidewall (or glue it if nailing isn’t possible).

Cover with cap flashing
If the kick-out and step flashing can’t tuck behind the siding, screw on cap flashing to cover it, then caulk along the top.


